

Celeste's Nursery is about as complete as it's likely going to get. I've been trying to add shelves for about 4 months now. Maybe when she starts actually reading books on her own?
I love how airy and bright it is in here.


And ultimately the colors evolved over time - intention was for a grey and yellow palette. Teal got thrown in there somewhere and really worked.
I love that chair. Teal velvet just seems somehow me. And since Celeste is essentially a mini clone of me - it fits her too.

Making use of the room. Finally. Mr. Whale is on duty.

And a teal dresser is what happens when you get a random weird off white finish on a online purchase. Worked out for the best - what other kid has this kind of awesome clothing storage. The painting is of penguins on a cliff.

This is where it started - the original brown box. Looks so dark by comparison.

Closet #1.

Closet #2

Awesome big window with fun shaped top bit to figure out how to dress up.

Stage One: Painting!
Started with the base coat, I cut, Craig rolled.
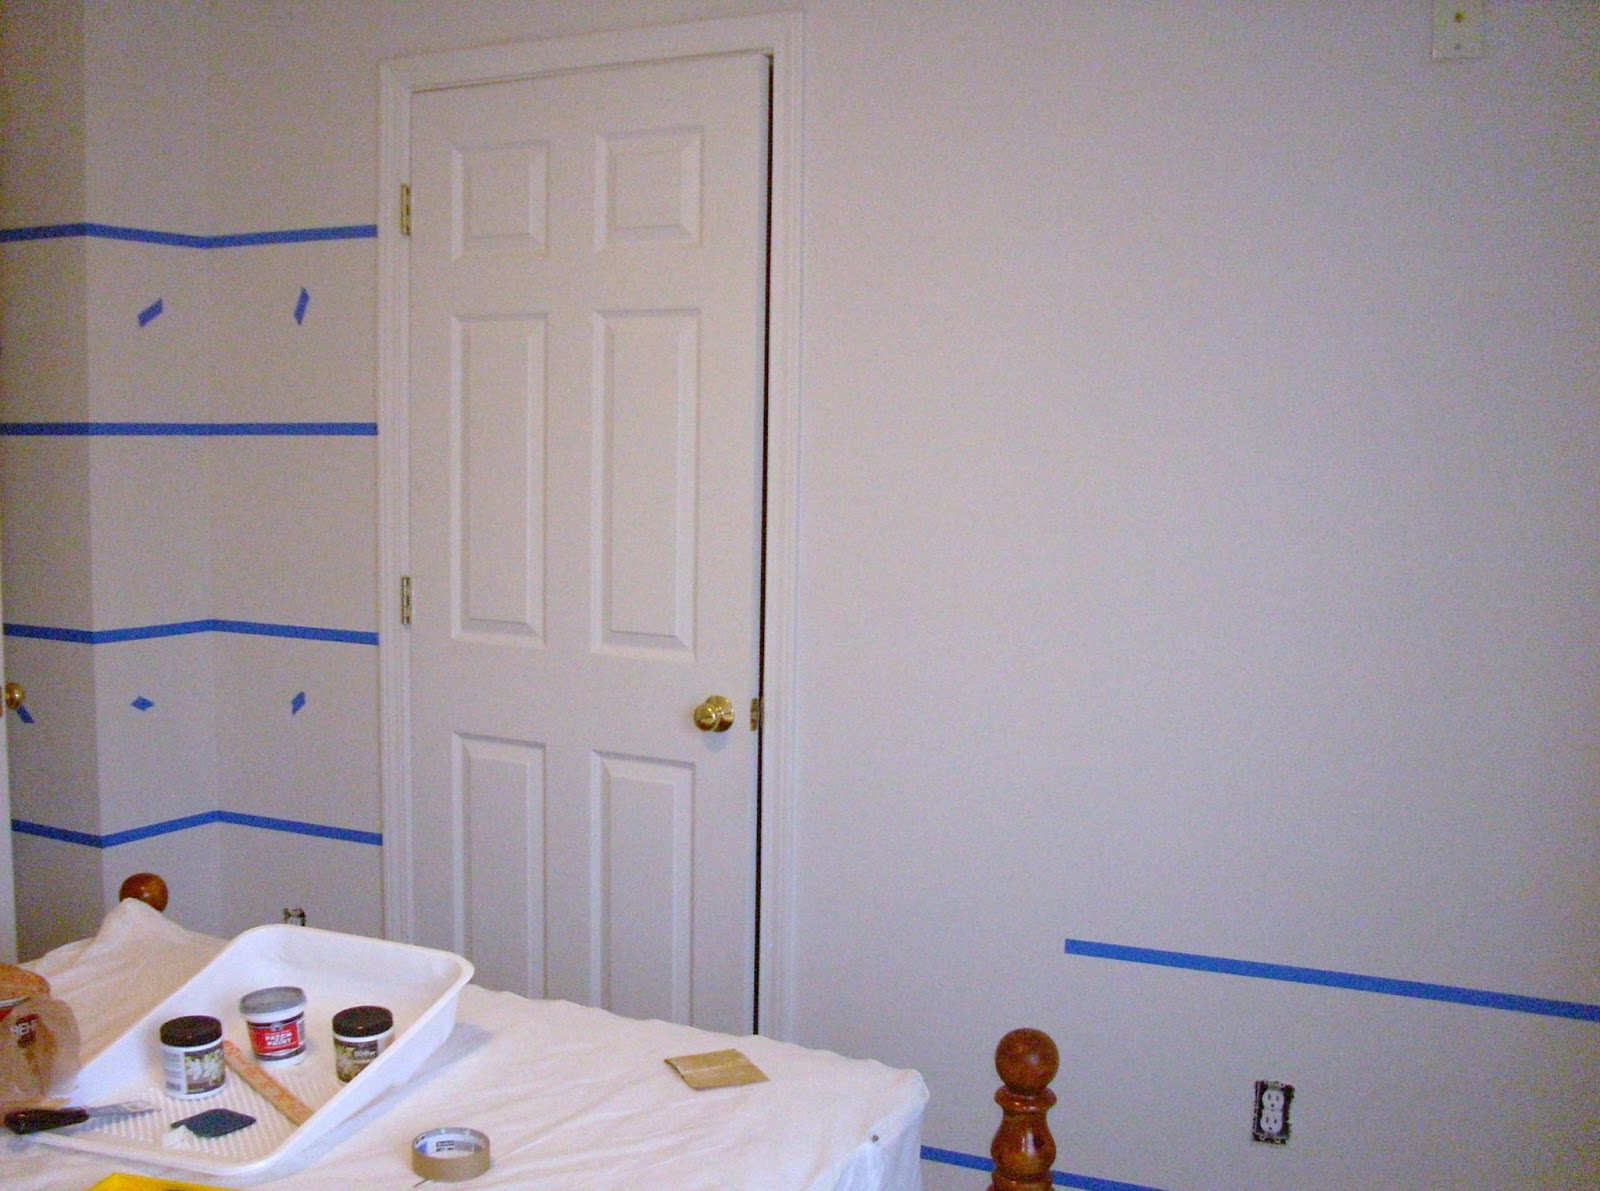
Stage Two: Tape Lines
Needed to be very careful with this - suffice to say walls were not straight nor level nor even. A $20 laser level helped immensely! Also a great fascinating toy for a bored three year old
(do not point it at your eyes hun)


Stage Three: Paint in the Lines
Like when you were a child, except with pressure.

Stage Four: Remove Tape and Reveal Glory
and touch-up. Luckily there was more glory than touch-ups.

Take many pictures with crap camera. Post to Pinterest. Cry when no one re-posts.

I wanted to do a cool color in the closets. We got a swatch of green apple and one of ocean turquoise (Behr at HD).

Green Apple won. Also beer is a DIY necessity.

Crawled into the closet and started painting. A Quart was exactly enough. Could have used a touch more honestly.

I love unexpected touches.

Inexpensive find on Wayfair.com - completely the wrong color for the room.

I kid you not, Craig suggested the spraypaint. The man just keeps surprising me with his awesomeness.

I didn't sand or anything - that's me for ya - lazy to the hilt. Just nice thin coats - this is after 1 coat.

Two coats.

Three coats done! The pulls still needed to go on in this shot - you can see them above in the 'afters'.

This is where those aforementioned shelves will eventually go. above and below the alphabet sign (Homegoods).
So what do we think? Successful? I'm pretty happy with it myself. And the snugglebug loves it and that's what matters.
Thrifty Decor Chick July Round Up!!

No comments:
Post a Comment